
Changes to Facebook Ads and how ads are going to be displayed on iOS14 are coming up fast.
By the time you read this, they might have already happened.
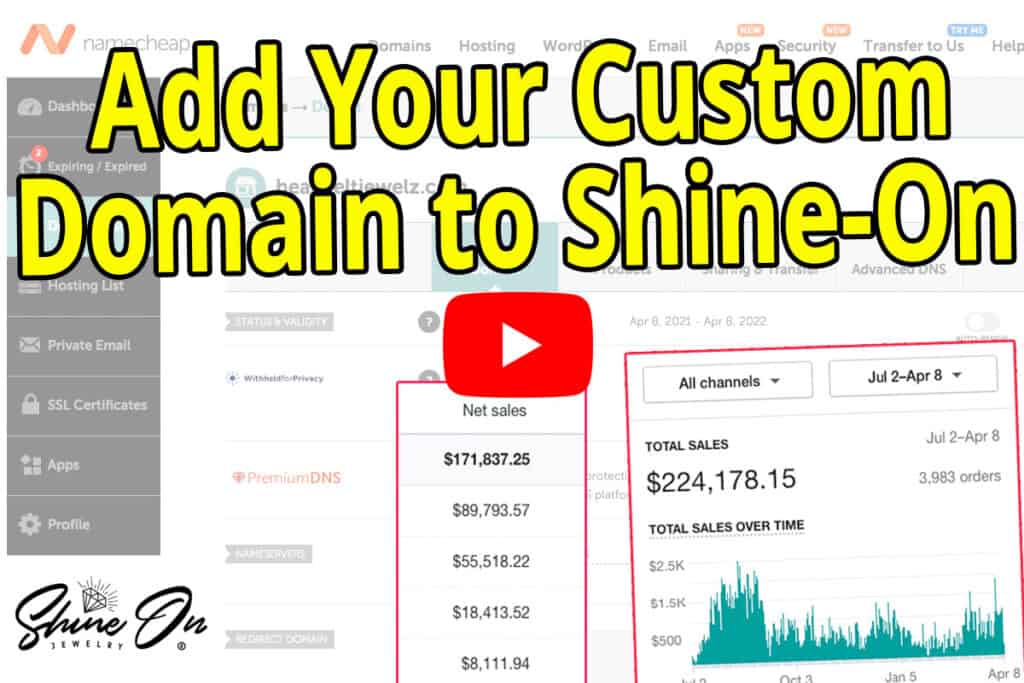
As you may have seen on my previous post, there’s big money to be made right now and you don’t want to miss out.
It’s time to stop using Shine-On‘s domain for your platform pages.
You need to be adding your custom domain and using that instead.
While Shine-On did do a video on setup, it’s just a dude talking you through it, and not hating, but I don’t think it’s clear.
It assumes you know all about domain configuration, and if you’re new like a lot of people, this most likely isn’t the case.
There’s no ‘over the shoulder’ type instructions or examples, so I’m going to rectify that with this post and my YouTube video.
Adding Your Custom Domain to Shine-On
Luckily it’s quite easy so let me walk you through the steps.
Firstly, you’re going to need a domain – and I highly recommend NameCheap for this.

Why NameCheap? I’ve been using them for over 20 years and have had hundreds of domains with them.
They’ve never let me down once. Rock solid platform with 24 hour support – what more do you need?
Plus, this tutorial and accompanying YouTube both use NameCheap.
So let’s begin.
First, create a free account with NameCheap – you’ll need this before you can register anything and start adding your custom domain.
Then, go to domain search from the top ‘Domains’ menu :

Tips for choosing a domain :
- Most words you can think of will be already taken for a .com
- Don’t make your domain names too long!
- Short, snappy, and easy to remember is best
- Don’t use dashes in a domain – such as best-necklaces.com
- A .com is best, but it doesn’t *really* matter.
- If you don’t have much money, extensions such as .xyz, .life or .club are super cheap.
Type a domain name in the next box and click ‘search’

Next you’ll get a big list of results :

When you find one that suits you, add it to cart, then go through and pay.
NameCheap takes Paypal and all major credit cards.

Once you pay for your domain, let’s head over to Shine-On and get it added in!
In your Shine-On dashboard click domains on the left menu.
This will open your Brand Manager.
Click the green button on the right that says + New Brand / Domain.
Then type your domain in on the next screen and press Continue.

Fill in your details on the next screen
(sorry about the quality of these images, they’re ripped from the YouTube)

Once you get all your details in and click Continue, you’ll get to the next screen, which is where i think a lot of you got confused :

Let’s go through the top set of instructions first :
- Open your domain and click Manage DNS
- Edit your @ or add one. Point it to 21.227.38.32
- Edit your CNAME, or add one using www. Point it to shops.myshopify.com
Ok, this may sound like mumbo jumbo to some of you, and that’s fine.
Not everyone is a domain expert.
For me, it’s easier to show my DNS from NameCheap so you can see how you actually set it up yourself.
Plus, don’t forget the YouTube where you can watch the steps happen as I do them.
In NameCheap you can get to your domain from the user dashboard

Click ‘Manage‘ over on the right of your domain, then choose Advanced DNS.
There will already be a CNAME entry in there so you can just edit it.
Then, add an A Record entry.
Make sure the TTL of both entries is set to Automatic.
When you are done, click the green tick to approve.
You should end up with the following :

That’s that sorted.
Now we need to take care of Facebook verification.
Head on over to Facebook Business Manager.
- Go to Domains under Business Settings > Brand Safety
- Click the blue Add button, enter in your domain and click ‘Add Domain’
- (refresh if you don’t see your domain)
- Make sure the DNS Verification tab is selected as per this image!

Then, select and copy the text from where I have outlined in the red box.
Yours will be different from mine in this screenshot.
Select and copy yours, from your Business Manager.
Go back to NameCheap DNS right where you were before, and click Add New Record
You need to create a TXT record :

Enter in ‘@’ for the host, then in Value enter in the text you have copied from Facebook :

Set TTL to Automatic as before, then click the green tick again.
Congrats – NameCheap is now correctly configured for your new custom domain.
Your advanced DNS records should look just like this – except your Facebook code will be where the red line is in mine :

Wait a few minutes then you need to go back to Facebook Business Manager > Domains and click Verify :

This may take a while to verify due to DNS configuration changes but for me it’s usually pretty instant.
This will verify your new custom domain in Facebook Business Manager.
Once you have your Facebook domain verified go back to Shine-On and click ‘My DNS has been Updated’

Ok You’re Done!
That’s it! You’re now done adding your custom domain.
It’ll now take about 24 hours ish before Shine-On approves your domain, then you’ll be good to go.
Once approved, when you go to your products, you will have the option of selecting your own domain to get links :

There’s some additional steps to set up for your domain in Facebook Business Manager, but I’ll cover that in another post.
As always I’ve made a YouTube video detailing this method that some of you may prefer to watch.
I’ll embed it below as usual, or if you just want to watch on YouTube – click here.
Other parts in this series :
Part 1 – Part 2 – Part 3 – Part 4 – Part 5
Part 6 – Part 7 – Part 8 – Part 9 – Part 10
Following that, jump on over here and start watching part 11 of my Shine-On mini course.